
The Mechanical Construction
There are a lot of builds online with different sources for material. Unfortunately, a lot of the referenced shops are already offline or do not sell the specific item anymore. This is where 3D-printing can help a lot…
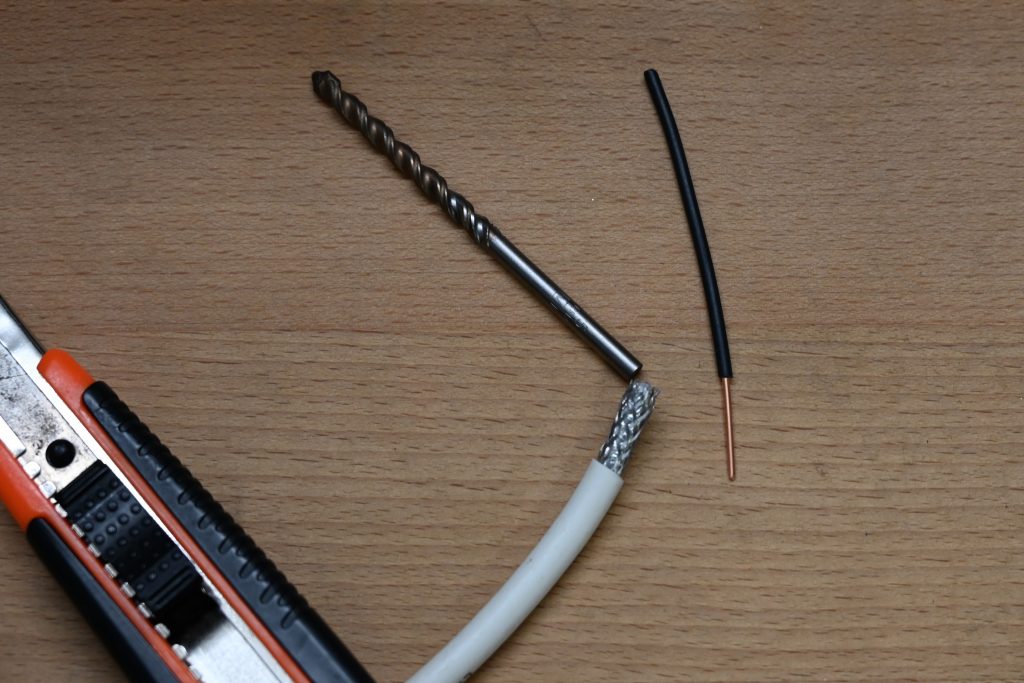
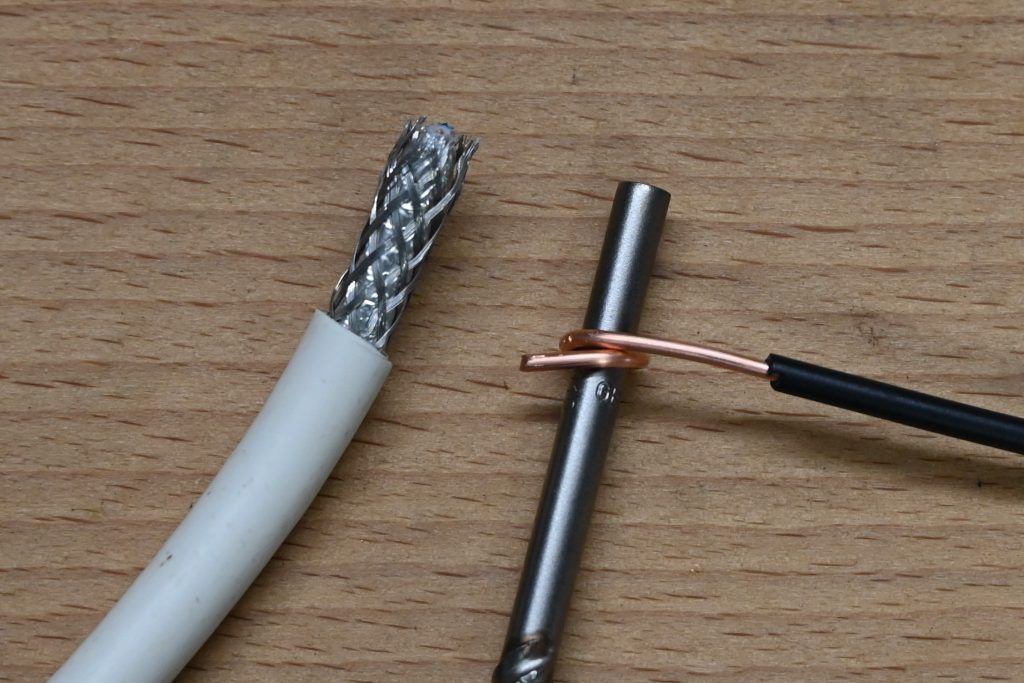
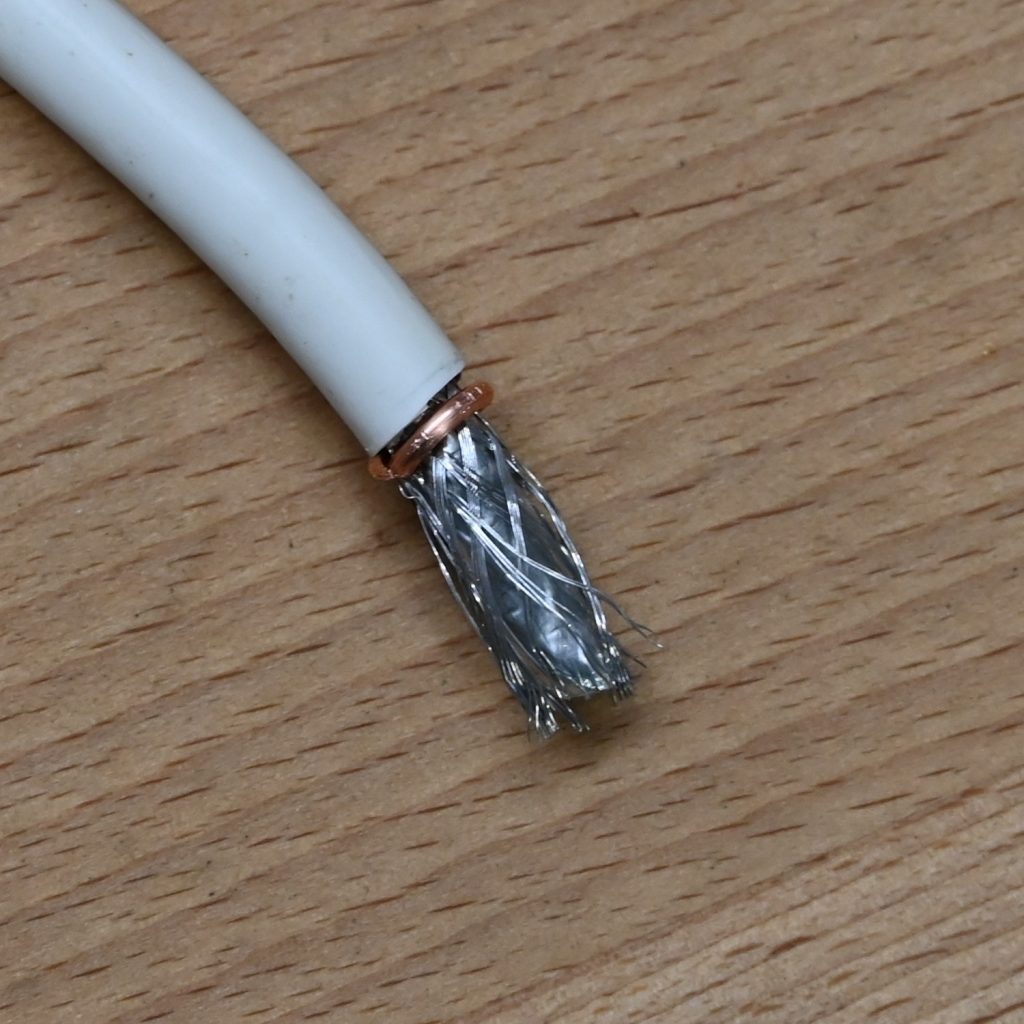
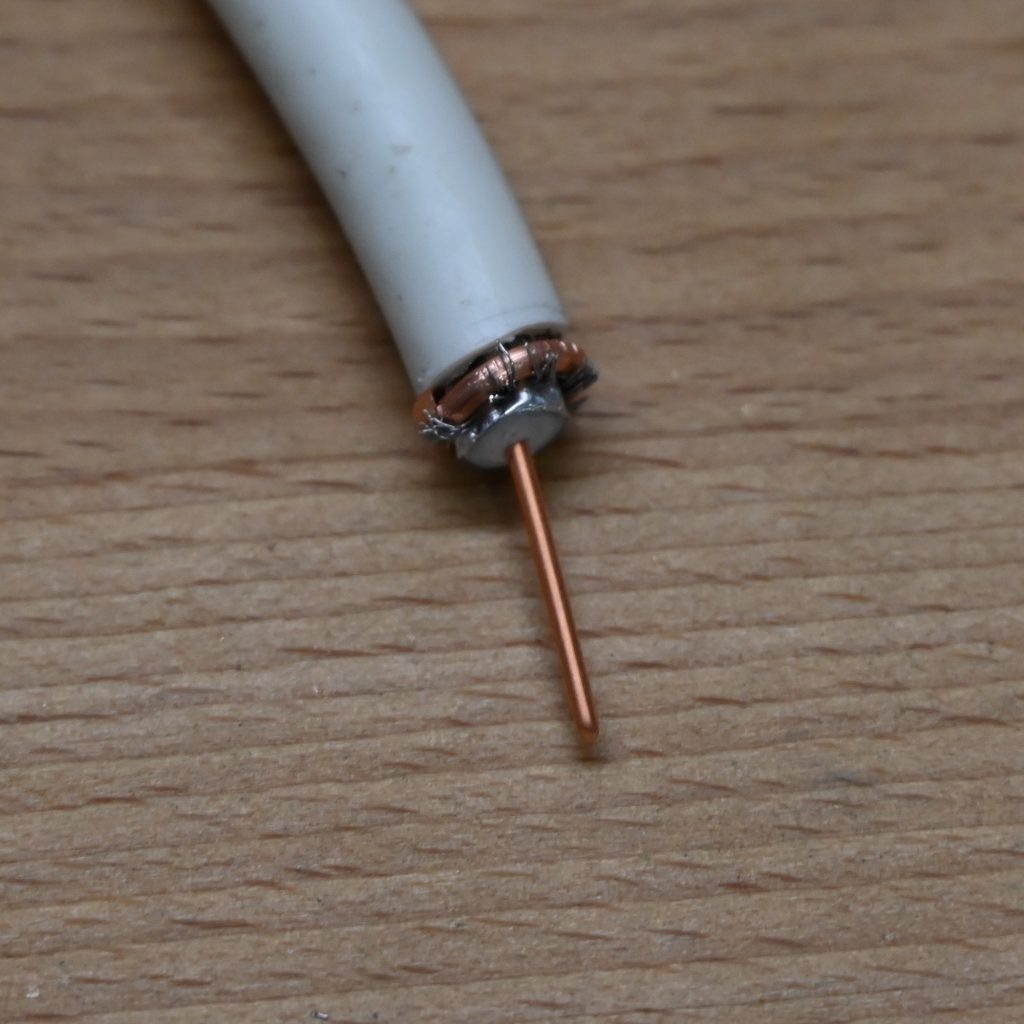
The Coaxial Cable
As the coaxial cable shielding is often made from aluminum, soldering is typically impossible. Therefore I used some 1.5mm² installation cable with solid core to produce smaller copper rings that in the end can be soldered. The process is illustrated in the pictures below.
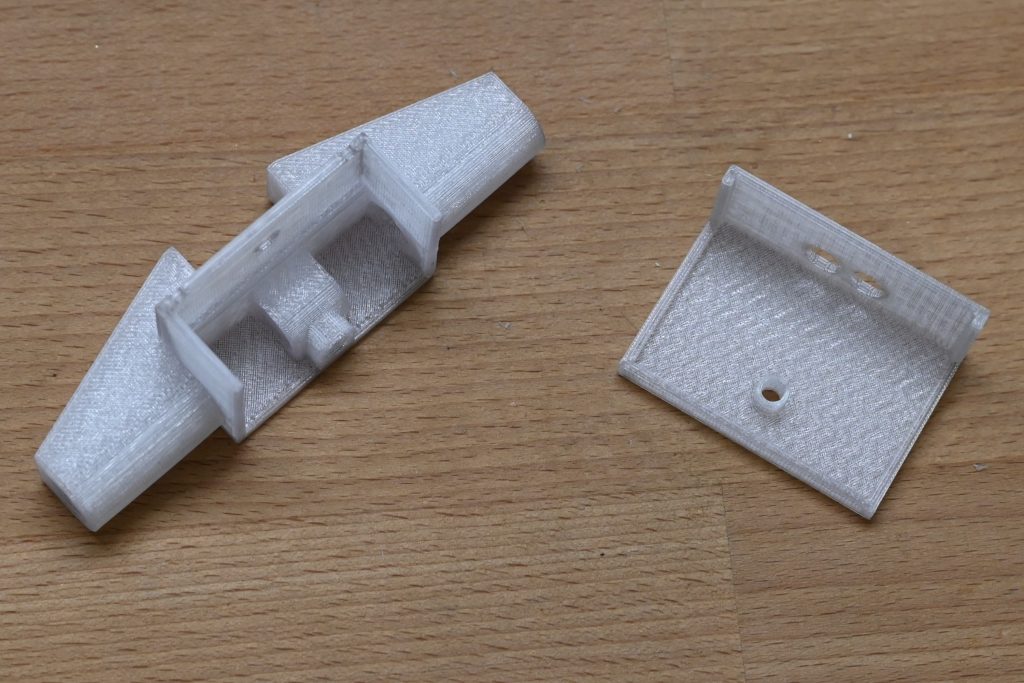
The Dipole Mount
For the dipole, I designed a mount that is as small as possible. I expect that the resonance frequency is reduced a bit by the length of the aluminum tube covered in PETG. In the pictures below, I mounted the old dipole as an exercise for drilling. To minimize the material and space requirements, I cut an M3 thread directly into the dipole tube. Time will tell if that is stable enough.
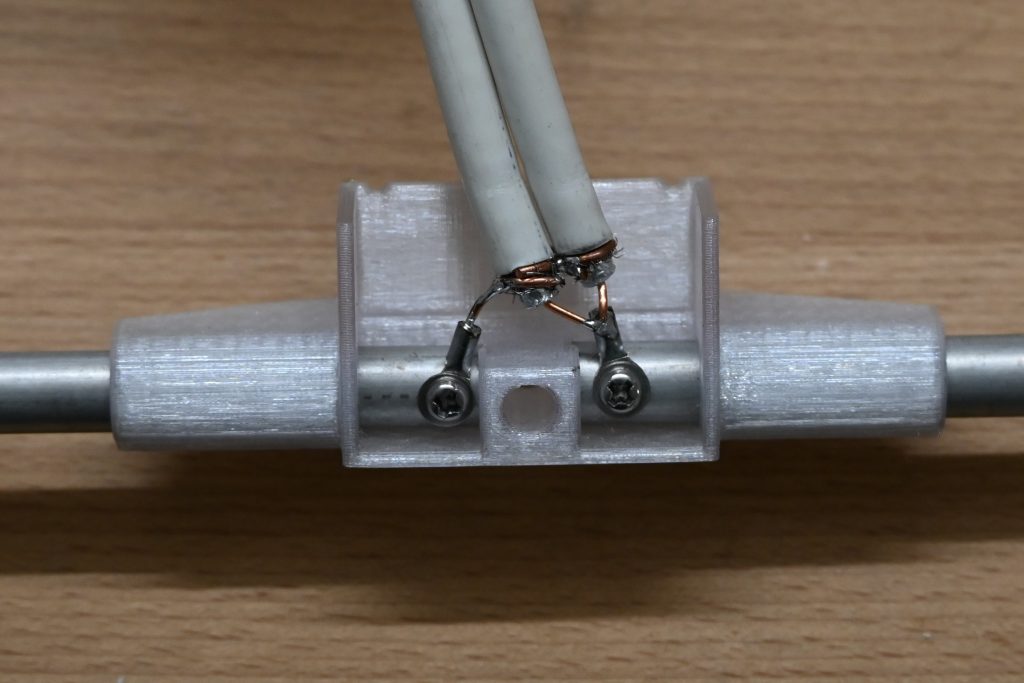
The Plug
The N-type plug will be mounted below the boom and also has it’s own custom designed housing. In the right picture, I tried to build the connection as symmetrical as possible with the copper rings as shown above.


The Element Mounts
Nothing to see here. Currently I just use the mounts available at the typical stores. In the future, I will be testing element holders very similar to my 3D-printed dipole holder. As this will have an influence on the elements’ electrical length, some investigation will be necessary.